Clarisse submitter tutorial
Warning
Due to Isotropix's discontinuation of Clarisse, Conductor will be deprecating Clarisse rendering on March 29, 2024. Please reach out to Conductor Support for any questions or concerns.
Note
The Clarisse submitter is no longer available through Conductor Companion. Clarisse rendering for current customers will continue to be supported until March 29, 2024.
The Conductor submitter for Clarisse allows you to ship renders to Conductor from a familiar interface within Clarisse.
This tutorial should get you going quickly. Please check the Clarisse submitter reference page for a detailed description.
Install and register the plugin in Clarisse
If you haven't already done so, Download the Companion App.
Open the Companion app on the Plugins page and install the Clarisse plugin.
To register the submitter in Clarisse, set the following path in the Startup Script section of the preferences window.
$CIO_DIR/cioclarisse/startup.py
Note
CIO_DIR is a variable in your clarisse.env file that points to the Conductor plugins location.

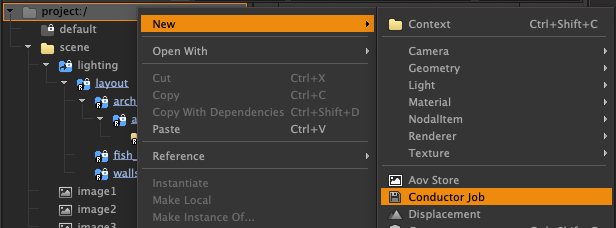
Now restart Clarisse. You should see an entry for ConductorJob in the New menu when you right-click over a browser.
Set up a submission.
- Open a scene containing one or more images or layers.
- Select the project context.
- In the right mouse menu, go to New->ConductorJob.
You'll now see a ConductorJob item in the attribute editor.
Note
You can hover over any attribute name to get contextual help.
- Set a title to show up on the Conductor dashboard.
- Click Add in the Images section to choose some images or layers to be rendered.
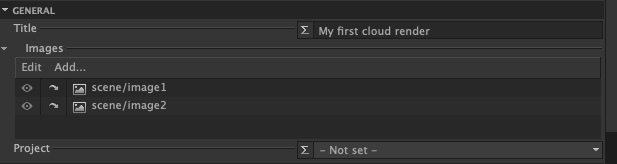
Ensure Render To Disk is turned on for each image, and set a filename in the Save As attribute.
Because the submitter has not yet connected with your account at Conductor, the project is - Not Connected -, and the pulldown menu is empty.
- Press the Connect button at the top of the attribute editor and, if prompted, sign in to Conductor.
- Choose a project from the Project drop-down menu.
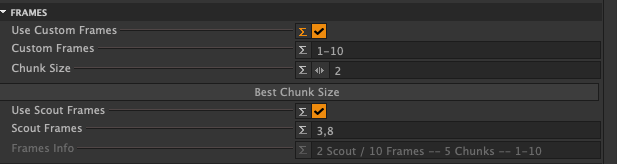
- In the Frames section, turn on Use Custom Frames and enter
1-10in the Custom Frames field. - Set Chunk Size to 2.
- Turn on Use Scout Frames and enter
3,8in Scout Frames field.
The Frames Info attribute is updated to let you know which frames will be submitted, and how many will be scouted first.
- Choose a machine specification in the Instance Type drop-down menu and check that a suitable version of Clarisse appears in the Clarisse Version attribute.
Submit your job
Now press the Submit button to submit your render to Conductor.
Warning
Due to a current limitation in CNode, the render will fail if the Clarisse Temp folder path contains spaces. Please check Preferences->General->Temp Folder. A safe alternative Temp folder is /Users/Public/tmp. You'll need to make sure the directory exists.
If there are no submission failures, a dialog appears with links to monitor the Conductor web dashboard job.
Download finished files
As tasks finish, you can download your images via the command-line tools or open the Downloader page in the Companion app.
Done
Be sure to visit the Clarisse reference page for more info.