Maya Legacy Submitter tutorial
If you haven't already done so, Download the Client Tools
Launch the Submitter
Once Conductor is installed, you'll see a Conductor shelf containing a button. When you are ready to submit a render, click the shelf button to launch the submitter.
Alternatively, enter the following commands in a Python tab in the script editor:
conductor import submitter_maya
submitter_maya.MayaConductorSubmitter.runUi()
Note
You must have a scene loaded in Maya before the submitter can launch.
The submitter consists of three tabs:
- General
- Advanced
- Job Software
General
Set the values specific to this submission.
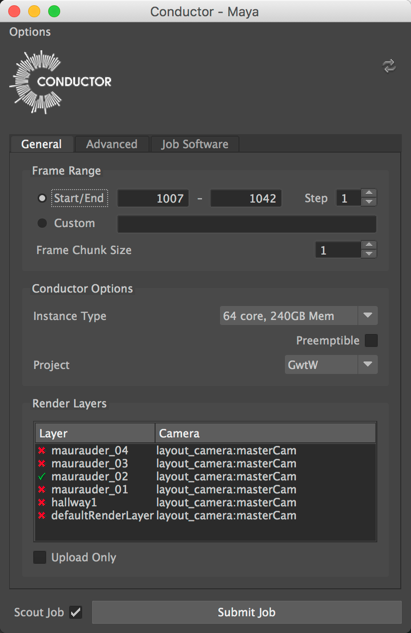
Frame Range
The start, end, and step values that specify the range to render.
Frame Chunk Size
A chunk is the set of frames handled by one task. If your renders are fast but loading the scene is slow, it may make sense to render many frames per task. If this is the case, set chunk size to a value greater than one.
Instance Type
Specify the hardware configuration used to run your tasks. Higher specification instances are potentially faster and able to handle heavier scenes. You are encouraged to run tests to find the most cost-efficient combination that meets your deadline.
Preemptible
Preemptible instances are less expensive to run than non-preemptible. The drawback is that they may be stopped at any time by the cloud provider. The probability of a preemption rises with the duration of the task. Conductor does not support checkpointing, so if a preemption occurs, the task starts from scratch on another instance. It is possible to change the preemptible setting in the dashboard for your account.
Note
It is possible to change the preemptible setting in the web dashboard after the job has been submitted.
Project
The Conductor project allows you to track usage and set cost limits on a project by project basis.
Render Layers
Specify the layers and cameras you want to render.
Upload Only
Uploads files but does not start any tasks.
Scout Frames
Scout Frames allow you to check a subset of frames before committing to the full render.
Advanced
Set the download location and notification email addresses.
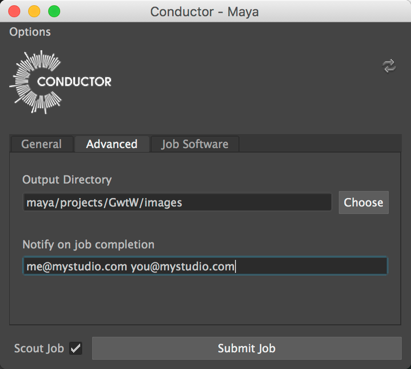
Notify on job completion
Add email addresses you would like to be notified upon job completion, preemption, or failure. To add multiple addresses, separate them with spaces.
Output Directory
Specify the location where files render to. Any files produced by the render must be in a location somewhere below the output directory.
Job Software
Software Packages
Select the software versions used to process your tasks. In most cases, versions are detected automatically based on those used in the scene. However, in some cases, it may be necessary to override them.
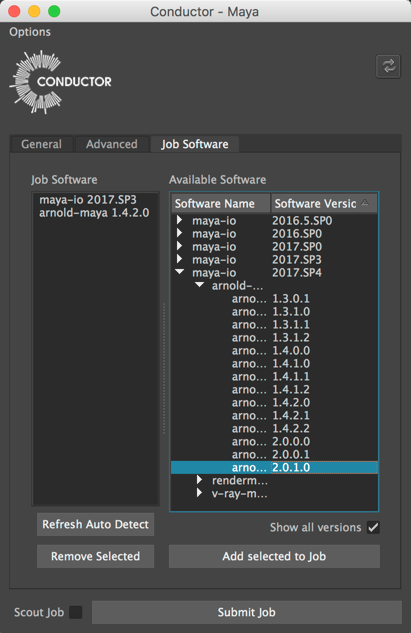
Job Software
Indicates the versions of the software Conductor uses to process your job.
Available Software
Select alternative software versions here.
Warning
Do not add any software versions that are not required for your renders as you are likely to incur unnecessary charges.
Reset UI
At any time, you can reset the settings by using the Reset UI data button in the upper right corner of the submitter interface.
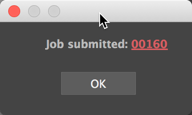
Submit Your Job
When you press Submit Job, the submitter scans the scene for file dependencies and uploads to Conductor. Once the upload stage is complete, a popup appears with a job number that you can use to monitor your job in the Conductor web interface.